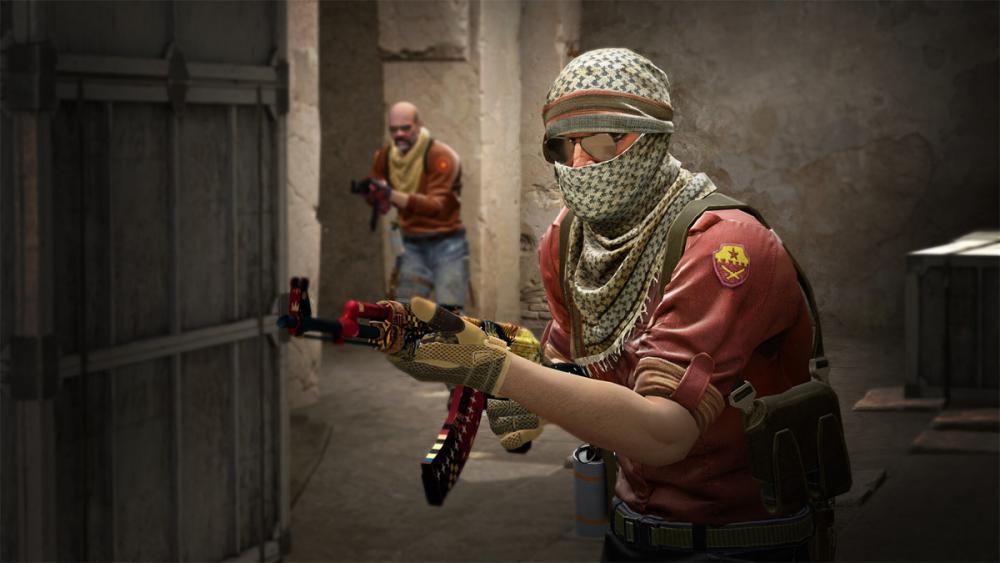

Join a Steam Group
Before you can display a tag in-game, you need to be a member of the Steam Group associated with it.
Open Steam and hover over your username at the top.
Click on Groups and search for the clan or community you want to join.
Hit Join Group.
Equip Your Tag in CS2
Once you’re in the right Steam Group, applying your tag in-game takes just a few clicks.
Launch CS2 and stay on the main menu.
Click on your profile, which is located at the bottom of the screen right by your CS2 Agent.
In your profile options, click on “Clan Tag”.
A menu will appear displaying all the Steam Groups you are currently a part of.
Select the Steam Group whose tag you want to show off in-game.
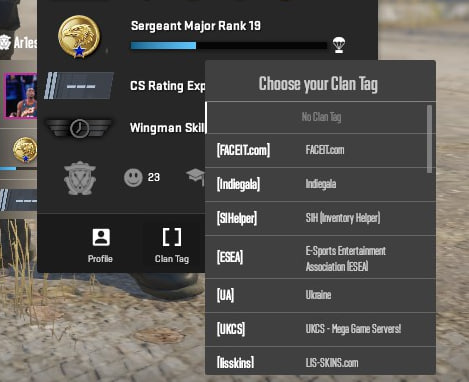
That’s it! Your new Clan Tag will now appear right next to your username on the scoreboard, in the kill feed, and above your agent's head during the match. It really is that easy.
Now that your squad is officially unified under one banner, you just need the gameplay (and the inventory) to back it up. Looking to complete the ultimate team look with some matching gloves, agent agents, or knives? Head over to Skin.Land to buy, sell, and trade CS2 skins safely, instantly, and at the best prices.





Kirjoita kommentti