
What Software Do I Need To Create CS2 skins?
Basically, creating a custom CS2 skin means that you draw a texture for a particular weapon, crafting your own design. Consequently, you will need the following software to work on the texture:
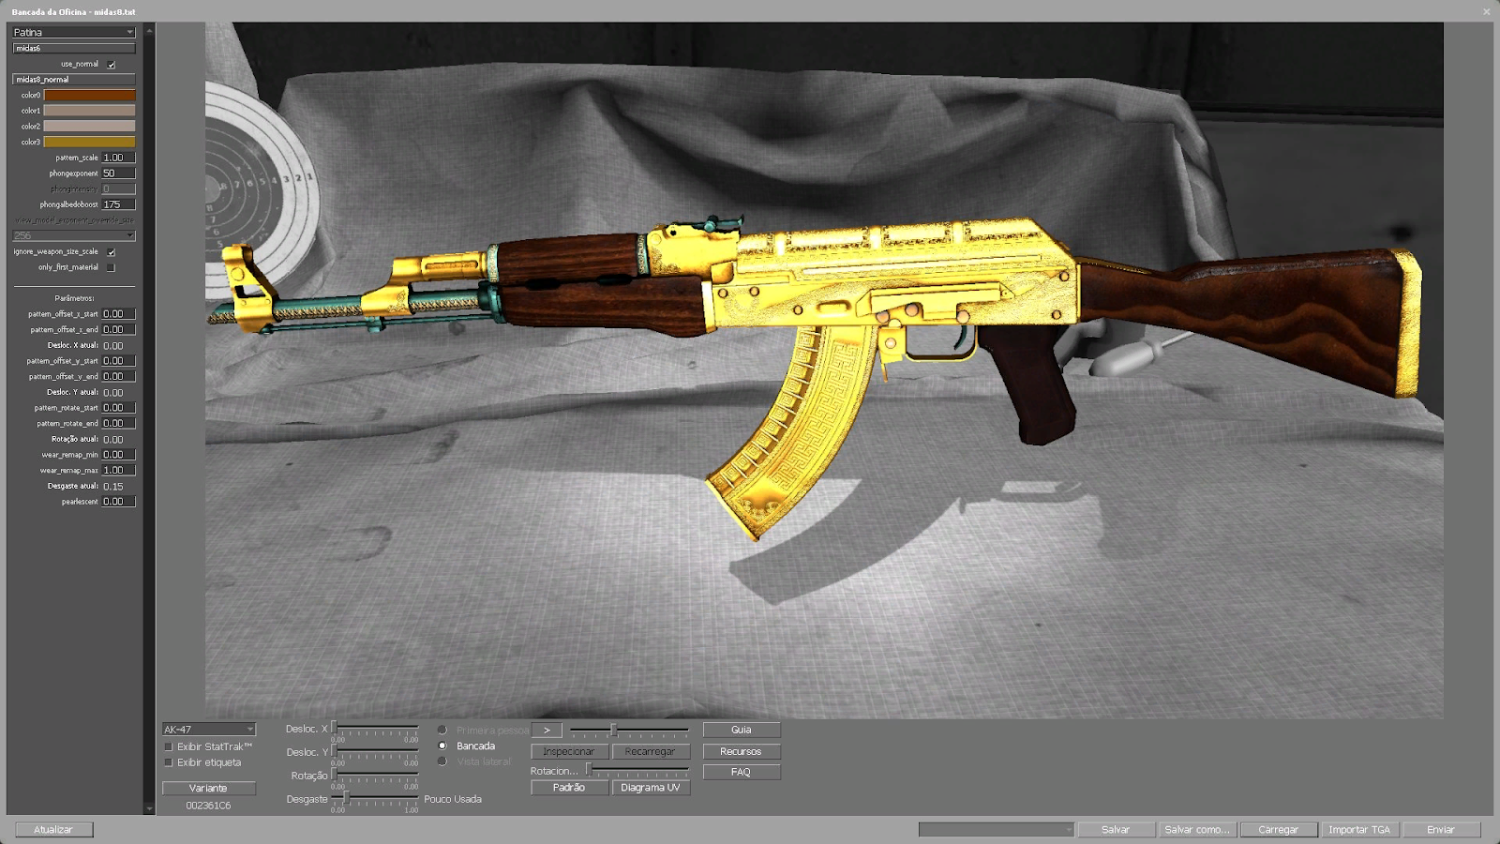
A Workshop Workbench – a software that gets installed together with CS2 and is used to test your skin, finalize them and submit it to Steam Workshop.
Some graphic design software, such as Photoshop, to open and edit texture files.
VTFedit – a small app for PC, which converts texture files (TGA) to the format that is used in CS2 (.VTF).
GCFScape – another tool that may be useful. It is used to extract in-game resources, so if you want to unpack some existing textures from CS2 to examine them closely or use them as a starting point for your design, this app will help you.
It is also advised to download official workbench materials and study them thoroughly. The archive contains all models used in CS2, so it makes it much easier to understand how to make your own custom skin for CS2.
As you can see, most of the tools you need to work on the skin design are free, besides Photoshop. But it can be easily replaced with GIMP – an open-source graphic design software, which has lots of similar functions. It takes some time to get used to it, but there are plenty of tutorials online. There is no necessity to install Photoshop when you are working on your weapon skin designs – the functionality of GIMP is enough. You may also want to install Blender (it’s free too) to study three-dimensional weapon models.
How To Create Your First CS2 Skin?
If you are planning to make your first custom CS2 skin, choose an easier task to better understand the basics. This means that it is recommended to start with either Custom Paint or Gunsmith weapon finish type. The former one looks like the weapon was coated with some paint. The majority of skins belong to this type. Gunsmith skins look like their pattern is printed on metal. These two types are the simplest to create, as it involves fewer technical details to consider. Moreover, most popular skins belong to these two types, so if you want your work to be noticed by the community, take that into account.
Here is some more advice, based on official Valve recommendations and the current state of the skin market:
While we understand that you may dream about creating a custom CS2 skin for AWP, it is better to start with less popular weapons. There will be fewer competitors and consequently a higher chance for your outstanding design to be seen.
Consider creating a pattern, which looks suitable for a low rarity skin. Many creators aim for making designs for Covered or Classified weapons, and naturally, the competition here becomes higher.
Be careful while choosing an image for your CS2 custom skin design. Obscene images are prohibited, and if the design includes imagery of bones, skulls, or blood, this doubles your amount of work, as it is required to create a low-violence version.
Use your original work for your design, or the images you own the rights for. Valve has very strict rules regarding this aspect. There were at least two cases of scandals because of copyright infringement (M4A4 Howl and AWP Doodle Lore), and you don’t want to be the third one.
Do not use political or religious symbols, as well as images that contradict the tone of CS2. Study existing skins that were accepted into the game.
Naturally, these rules and advice apply, only if you want your custom CS2 skins to be officially accepted by Valve and added to one of the collections, or if you plan to make them publicly available through the Steam Workshop. Your only goal is just to have fun in your local game, you have much more freedom.
How To Create a Custom Skin
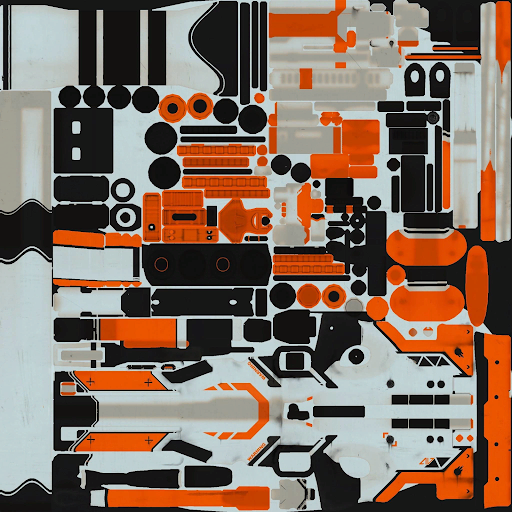
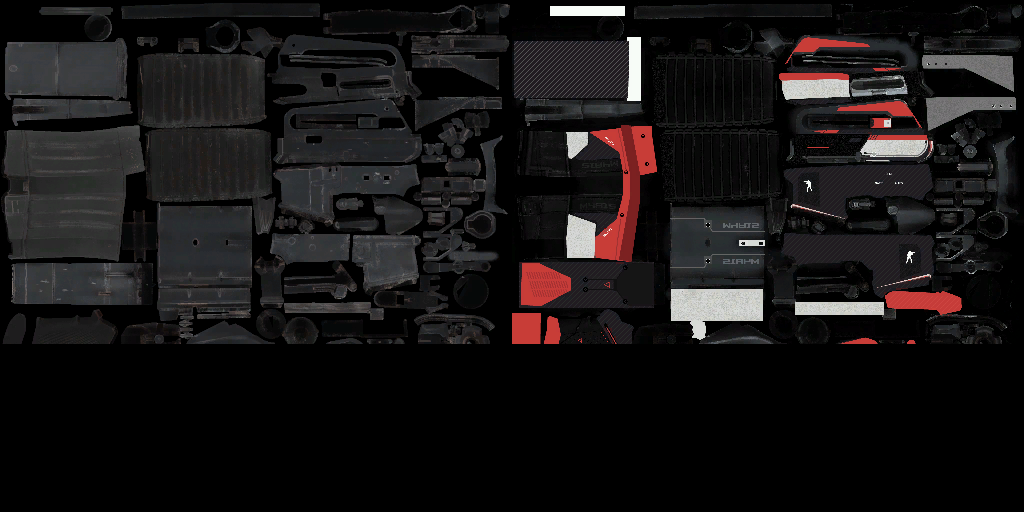
Now you have enough information to try your hand at making your first custom skin for CS2. Before you begin, thoroughly study the 3D model of the weapon and the UV map (the texture). It may be easier to understand the process if you imagine the 3D model “flattened” onto a 2D sheet as if you were creating a cutout for a paper model. Now you will see that each part of the UV map corresponds to some part of the weapon surface.
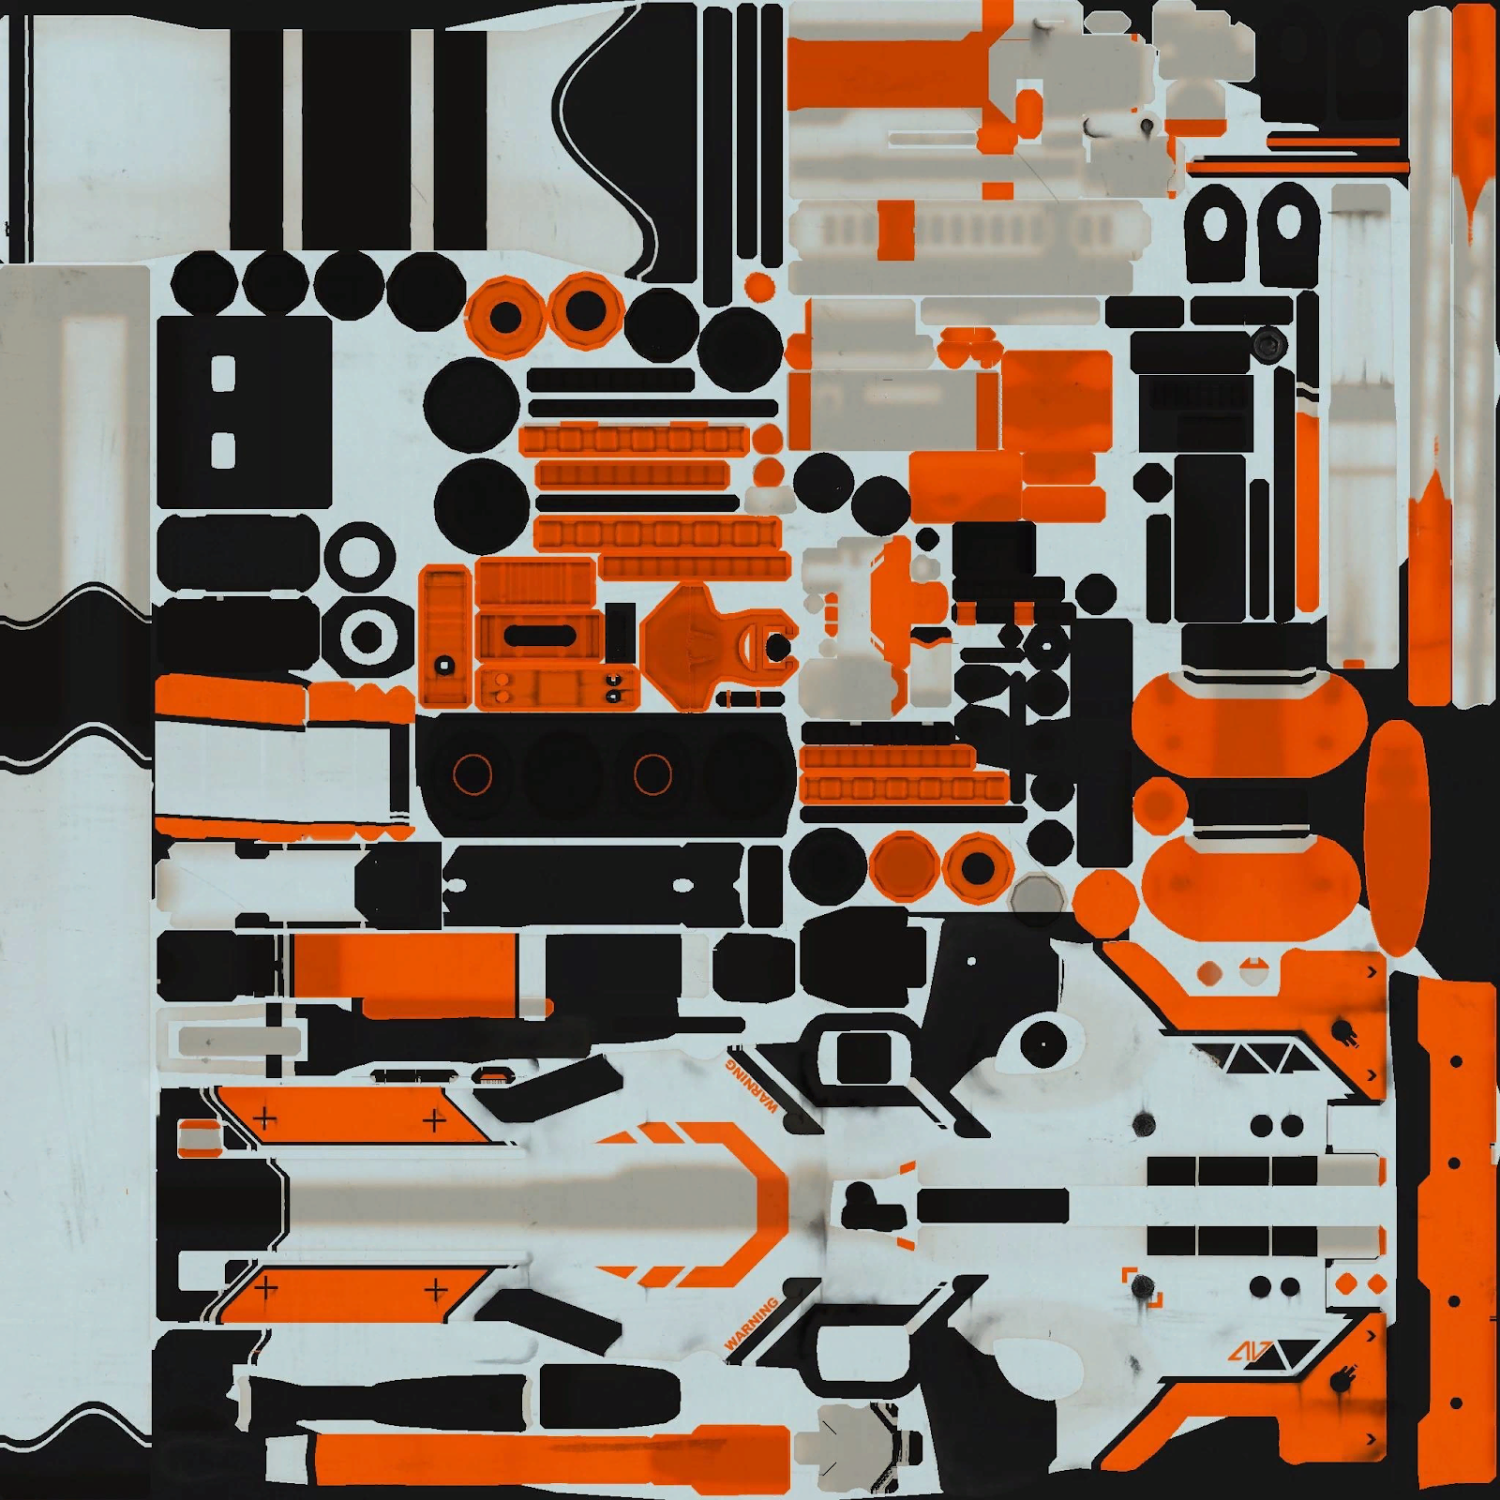
Here is the UV map for AWP Aziimov
While drawing, you need to check how the result looks on the 3D model. Sometimes the texture that looks fine on a flat surface feels too busy or overloaded when applied to the weapon or doesn’t align well with its shape. You may also notice that the best skins use the shape of the weapon to their advantage or play around with it, using it as one of the expressive elements of the design.
When the weapon model is rendered in-game, it happened in the following order:
First, the 3D engine creates the basic weapon model with its default skin.
Then the custom texture is drawn over it.
Then comes the AO texture, which adds some small elements to the model.
Lastly, lights and shadows are drawn.
While making your first custom CS2 skin, it is wise to limit yourself to what happens in the second stage, namely creating the custom texture. There are more complex designs, which work with the normal map – a layer that defines how exactly light and shadows fall on the surface. It can be changed, for example, to create the effect of the engraving, but it appears too convoluted for the beginner project.
You may paint each element of the weapon manually or create some geometric pattern and just apply it to the surface. Sometimes it is good to combine the two techniques: for example, apply a repeating pattern and then add some small drawings or inscriptions to freshen up the look.
How To Share Your CS2 Skin
When you are content with the look of your custom CS2 skin, convert it to Valve Texture Format mentioned above. Then open Workshop Workbench using the workshop_workbench command in the CS2 console. Open the weapon you are working with, and then your VTF file.
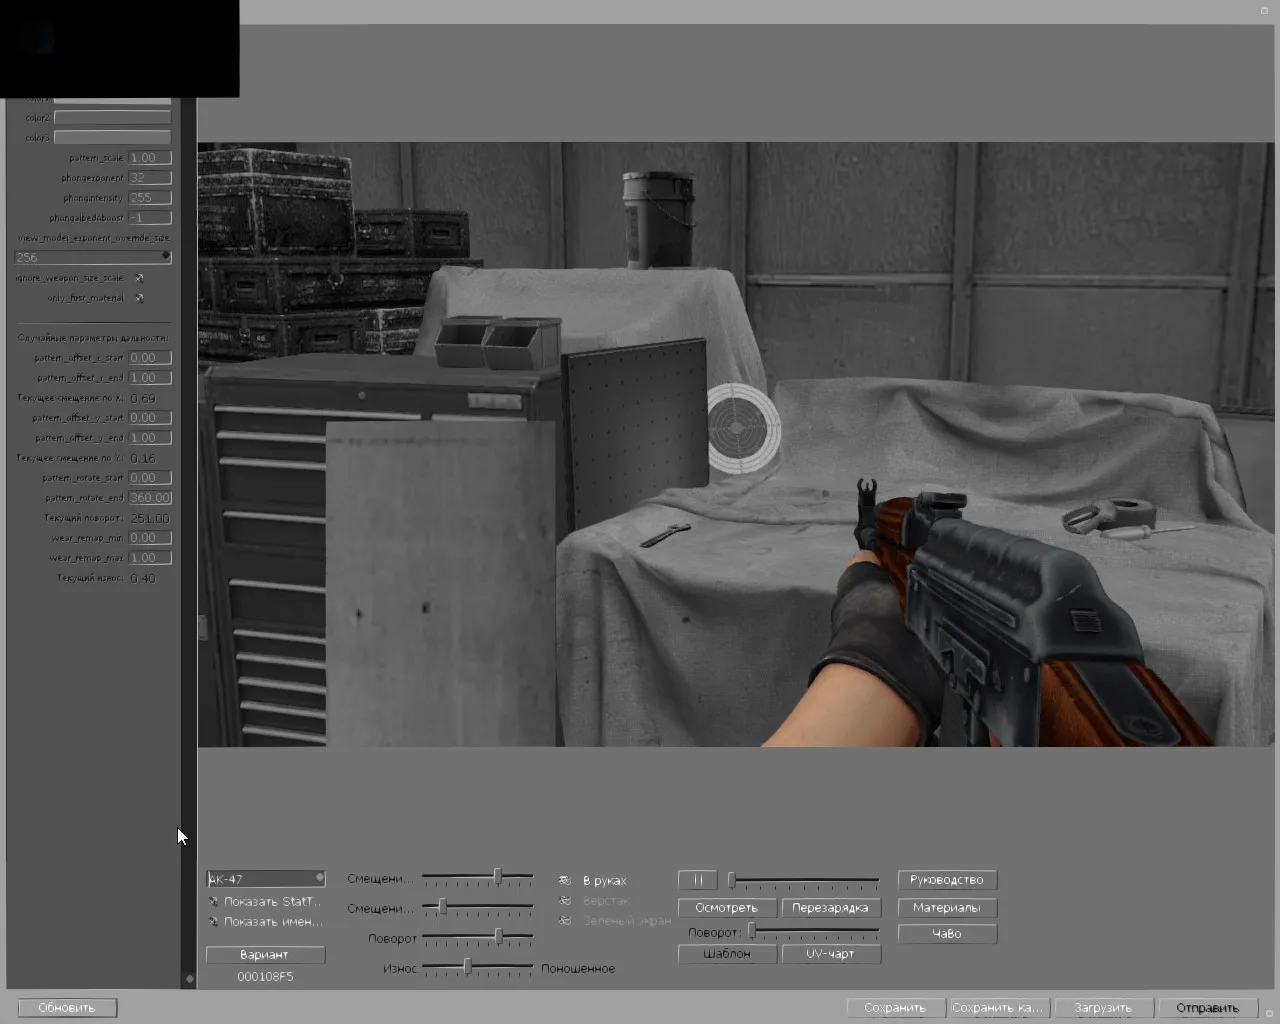
The most important parameter you need to pay attention to in this window is the “wear remap max”. It determines what will be the maximum float value possible for your skin, and how it will affect your skin. Play around with graphic parameters, such as a pearlescent look, to find out which suits your design the best. Try out different weapon animations to check how your design feels in the game.
After you are satisfied with all the details, you are ready to upload your custom CS2 skin to the Steam Workshop. Do not forget about the presentation. Invent a catchy name that reflects the nature of your skin, and add an appealing cover image for your workshop entry. Add several high-quality screenshots representing the look of your weapon in the game. If you have a serious attitude and want your work as a skin designer to be recognized within the community one day, do not forget about interaction with others. Participate in various activities, exchange opinions, and don’t hesitate to ask questions and rate the works of other designers.
How To Use Custom Skins in CS2
Many skin designers dream about making a custom CS2 skin that will be accepted by the developers. While you may view this as an ultimate goal, there are other ways to see your work in the game.
Firstly, if you create your weapon design according to the guidelines designed above and upload it to the Steam Workshop, every player is able to add it to their game. People will also vote for skin they like, adding to the chance that the developers will notice it. So, uploading to the Workshop is the easiest way to share your work with the community.
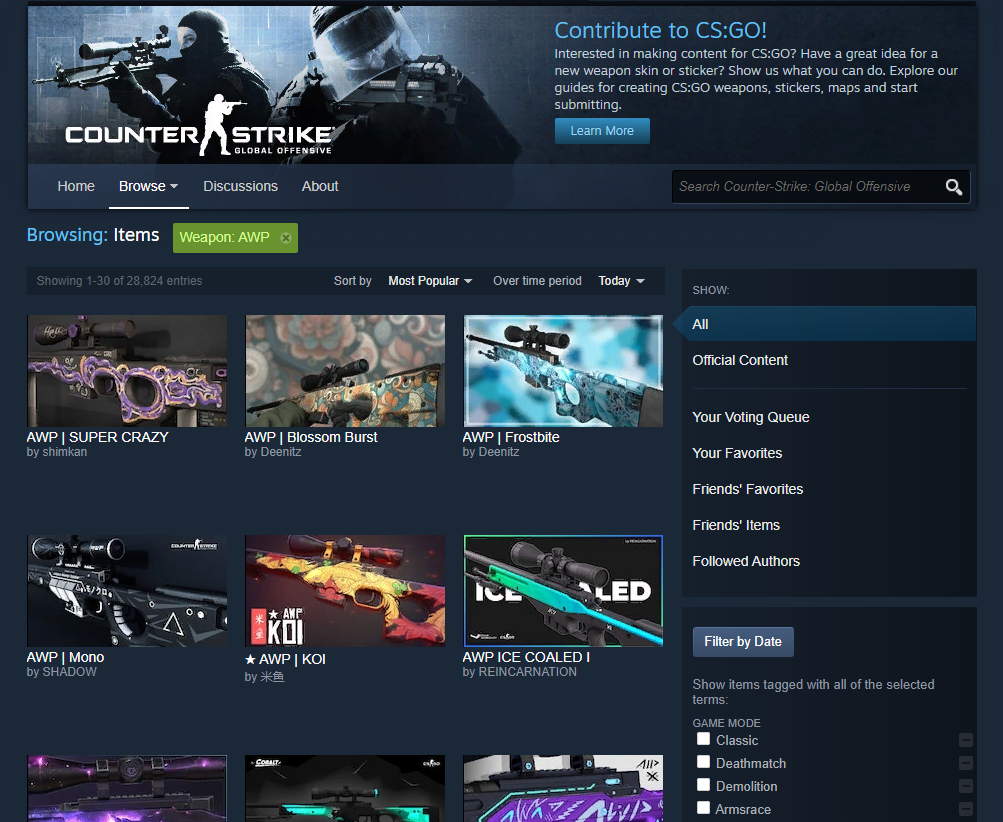
However, if you just want to experiment with your custom skin designs without showcasing them to others, you may also view them in offline matches. Note, that this method requires modifying the game files, which can result in a VAC ban if you attempt to connect official servers. Basically, you buy some cheap skin from the Workshop, and then modify the items_game.txt file in the game directory, replacing it with the name of your file. As a result, the game will display your model instead of the previous one. Remember, this way you can equip your game only in the matches with bots or on custom maps you create. Do not forget to save the copy of items_game.txt before modifying it, so you can easily return the game to its initial state when needed.
As you see, there are several ways to use custom CS2 skins. While making your own design may seem difficult, now you have enough information to start your own journey toward enhancing the game with your own work.
Creating CS2 Skins FAQ
Do you need paid software to make CS2 skins?
No. The Workshop Workbench installs with the game, and tools like VTFedit, GCFScape and Blender are free. The only common paid option is Photoshop, and even that can be swapped for the free, open-source GIMP, so you can design a full skin without spending anything.
Can you use custom skins in CS2 matchmaking?
No. Skins you make only appear officially if Valve adds them to a collection. Locally you can preview them in offline or bot matches by editing game files, but doing that on official servers risks a VAC ban, so it should never be used for real matchmaking.
Which weapons should beginners design skins for?
Start with less popular weapons and lower-rarity finishes. Many creators crowd the AWP and high-rarity Covert designs, so competition there is fierce. A strong finish on an overlooked gun has a better chance of standing out and being noticed by both the community and Valve.
How do you preview a skin before submitting it?
Convert your texture to Valve Texture Format, then open the Workshop Workbench with the workshop_workbench console command and load your file onto the weapon. There you can test different float values, adjust the wear remap and check how the design looks across the game’s animations.

krasnal
dowiedziałem sie nic ale fajnbie
Write comment